How to Install a Safe in the Floor for Discreet Security
Wondering how to install a safe in the floor? Our no-nonsense guide dives straight into the key steps to secure your belongings below your feet.
Find out how to select the best spot, prepare the foundation, and embed your safe firmly—all while keeping its presence under wraps. Get ready to fortify your space with confidence.
What is a Floor Safe?
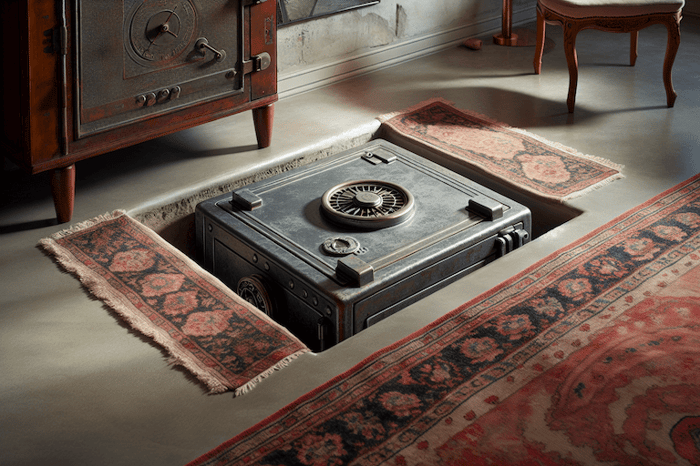
A floor safe, also known as an in-floor safe, is a type of security storage container that is installed below the ground level of your home or business. They are designed to be embedded within a concrete floor, making it not only incredibly difficult to detect but also to remove.
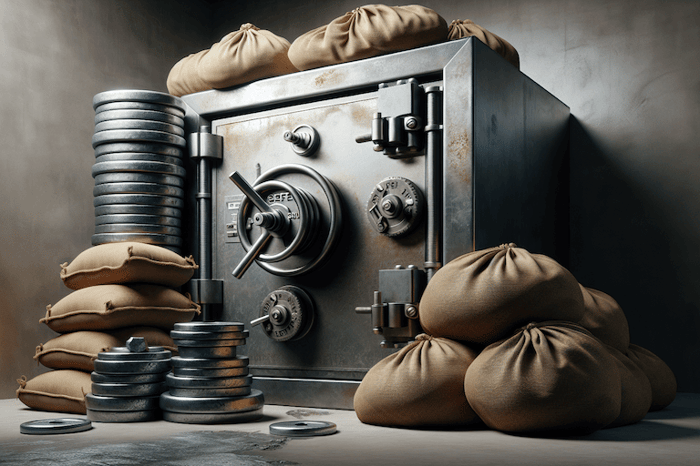
This discrete form of a safe is ideal for protecting valuable items such as cash, jewelry, important documents, and small heirlooms against theft, fire, and water damage.
Here at Guardian Safe and Vault, we have a selection of in-floor safes in different sizes, from the top brands in the industry.
Planning Your Floor Safe Installation

Planning is a vital first step in the floor safe installation process, requiring you to consider several important aspects before the drilling and hammering begin.
A properly planned installation ensures you choose a discreet location, understand the concrete foundation, and gather the necessary tools and materials. Such preparation not only enhances safety but also streamlines the installation process.
Identifying the Ideal Spot
Choosing the perfect spot for your floor safe goes beyond just picking any space in your living room or bedroom. It involves considering factors such as ease of access, discretion, safety from water damage and, of course, the type of flooring.
The best location is one that seamlessly integrates into your daily routines and is not easily discoverable. This could mean avoiding obvious locations such as master bedrooms and going for places like the garage or basement that naturally have a concrete base.
Understanding Your Concrete Foundation
Gaining a thorough understanding of your concrete foundation is a step you should not overlook since this is more than just bolting your safe to the floor. Different types of concrete foundations require different installation methods, especially if you have a post-tension slab.
Cutting into a post-tension slab can pose structural risks to your building and thus should be handled with extreme caution. Consequently, it’s necessary to familiarize yourself with the type of concrete in your foundation prior to starting the installation.
Gathering Necessary Tools and Materials
Having all the necessary tools and materials at your disposal makes the installation process smooth and efficient. Essential tools for this task include an electric jackhammer for breaking through the concrete and a hammer drill for creating holes for the concrete anchors.
You will also need additional materials such as a concrete mix to secure the safe once it’s positioned.
To avoid any delays or complications during installation, ensure all required tools and materials, including those for plumbing lines, are readily available before you begin.
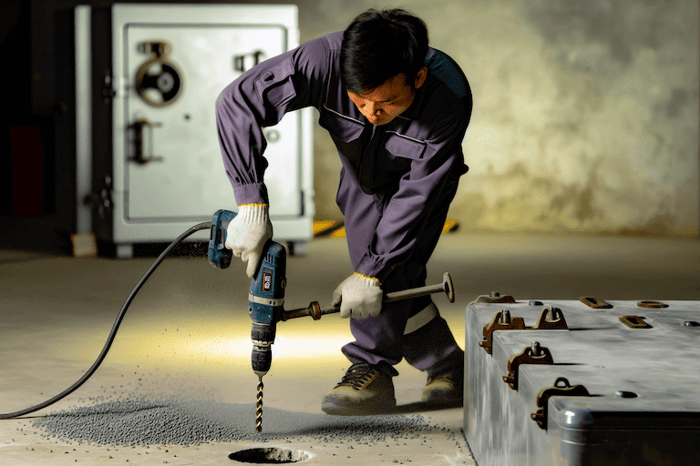
Cutting Into Your Concrete Floor

With all the planning completed, you can now start the actual work. The first step in the actual installation process involves cutting into your concrete floor.
This step requires you to remove any existing flooring to expose the concrete slab. But worry not, it’s not as hard as it sounds, especially when you have marked your measurements right.
Marking and Measuring
Before you start cutting, you need to know where to cut. This is where marking and measuring come into play. With a measuring tape, determine the dimensions of the safe’s base and mark them on the concrete floor.
The entire hole should have dimensions 12 inches longer and wider than the floor safe to provide a 6-inch concrete perimeter around the safe for added security. Double-check your measurements to avoid any mistakes.
Breaking Through the Slab
After marking the measurements, you can proceed to break through the slab. An electric jack hammer is your best bet for this task. Use the pre-marked lines as your guide, ensuring the hole is accurate for the safe’s installation. You can use a chisel for fine-tuning the edges of the hole.
Preparing the Hole for the Safe
Once you’ve successfully broken through the slab, the following step is to prepare the hole for the safe. This involves:
-
Removing any loose debris or dust from the opening
-
Smoothing out the edges for a secure fit of the safe
Ensuring Proper Depth and Level
Ensuring a secure fit for your floor safe involves the following steps:
-
Digging a hole that is at least 6 inches deeper than the height of the safe to allow for a layer of concrete and sand/gravel beneath the safe.
-
Using a level during installation to confirm that the safe is perfectly horizontal.
-
Making sure the safe is even with the surrounding floor surface.
By following these steps, you can ensure that your floor safe is securely installed within the floor joists.
A safe that sits higher than the floor indicates a poor installation, so take all necessary measures to avoid this.
Creating a Secure Base
The stability of your floor safe hinges on creating a secure base. Start by pouring a foundational layer of concrete into the bottom of the hole. Then add a layer of fine sand or gravel above the concrete layer.
This layer will assist in leveling the safe and acting as a moisture barrier, preventing direct contact between the safe and the concrete.
Ensure the base is stable and level before you proceed to the next step.
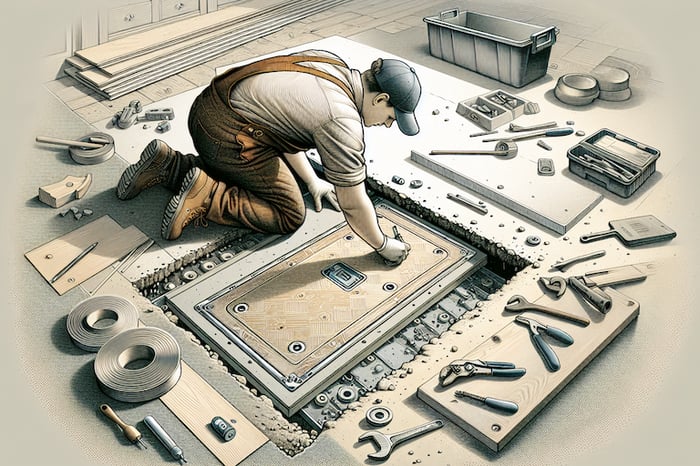
Installing the Safe Inside the Floor

Once the hole is prepared and the base is secure, you can proceed to install the safe. This involves lowering the safe into position and sealing it with surrounding concrete. Remember, the safe must be level with the finished floor to avoid creating a trip hazard.
Ensure you use a trowel to smooth the concrete and clear any excess from the dust cover.
Lowering the Safe into Position
You’ll need to exercise care and precision when lowering the safe into position. You can use a heavy-duty appliance dolly and the help of a few strong hands to safely lower the safe into the hole.
Make sure the safe is strapped to the dolly securely to prevent any movement during the lowering process.
Use a level to ensure the safe is accurately positioned before filling the remaining sides with concrete mixture.
Sealing with Concrete Surrounding
After positioning the safe, the next step involves sealing it with surrounding concrete. Use a concrete mixture composed of 1 part cement, 2 parts sand, and 4 parts 3/4” rock, thoroughly mixed with water to the desired consistency.
After the safe is positioned, carefully pour the pre-mixed concrete around it to fill the remaining gaps.
Let the poured concrete cure for a full 24 hours before using the safe.
Finishing Touches and Reinstating Flooring
Sealing the safe doesn’t conclude the installation process. You need to finish up by replacing the original flooring material and installing the cover plate for a seamless appearance.
This makes your floor safe not only secure but also unnoticeable to the unsuspecting eye.
Installing the Cover Plate
To prevent tripping hazards and effectively conceal the safe, install the cover plate or lid flush with the concrete slab. Take care to seal the cover plate with masking tape prior to pouring concrete, as this prevents excess concrete from cementing the door shut.
This ensures that your ground floor safe is not only secure but also convenient to access.
Securing the Safe and Testing
After installing the safe and reinstating the flooring, the next crucial step is securing the safe and testing. Extensively test the lock mechanism to confirm that the locking system engages and disengages smoothly and reliably.
Also, ensure the handle of the safe has minimal movement and tighten any slack by adjusting set screws or bolts. This ensures that your safe is reliable and secure.
Maintenance Tips for In-Floor Safes
The maintenance of your in-floor safe is as vital as its installation. Regular servicing and cleaning, proper lubrication, and moisture control are essential for optimal performance and longevity of your safe.
Remember to air out the safe periodically to prevent musty smells and moisture build-up.
Additionally, fire protection measures should be considered to ensure the safety of your valuables.
Annual Servicing and Cleaning
For your safe’s reliability, it’s important to carry out annual servicing and cleaning. Regular maintenance checks include:
-
Testing the lock mechanism
-
Inspecting for broken welds
-
Ensuring components like the clip clutch are in good condition
-
Battery checks for electronic locks
-
Lubricating mechanical parts
These checks are vital to ensure the safe’s proper functioning.
Avoid using harsh chemicals or abrasive cleaners on safes; instead, use gentle cleaning methods to prevent damage to the finish.
Summary
In conclusion, installing a floor safe is a meticulous process that requires careful planning, precise execution, and regular maintenance.
We generally recommend having your floor safe installed by a professional and that will apply to most people. However, if you have the necessary skills, by following this guide, you can successfully install a floor safe in your home or office yourself, enhancing your security and giving you peace of mind.
Remember, the safety and security of your valuables lie in your hands.
Frequently Asked Questions
How deep should the hole for the safe be?
The hole for the safe should be dug approximately 6 inches deeper than the depth of the floor safe to allow space for the base layer of concrete and the safe.
How do I ensure my safe is level with the floor?
To ensure your safe is level with the floor, use a level during installation to confirm that it is perfectly horizontal and even with the surrounding floor surface.
How often should I service and clean my floor safe?
It's recommended to service and clean your floor safe at least once a year to ensure its proper function and longevity.