How to Bolt a Safe to the Wall
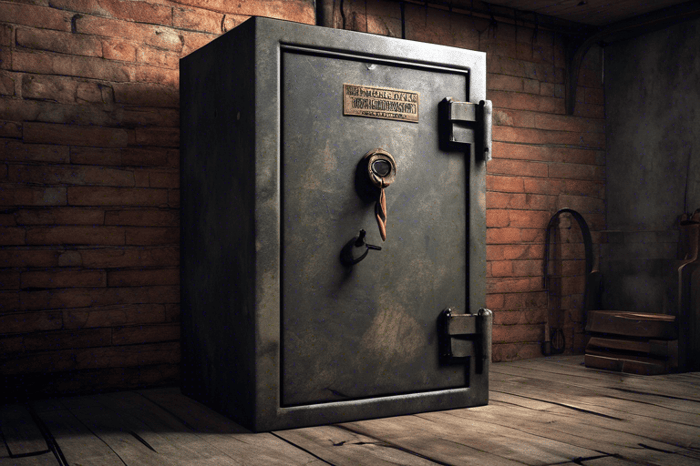
One of the most effective ways to safeguard your valuables is by installing a sturdy, well-anchored home safe.
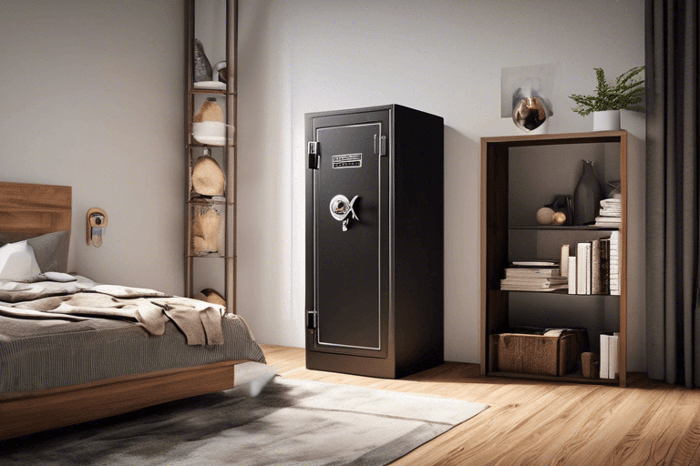
While bolting a safe to the floor is often the preferred method, there may be instances where this is not feasible, such as wanting to secure a safe in an apartment or rental property. In such cases, securing the safe to the wall becomes the next best option.
In this guide, we'll explain the process of properly installing a home safe to the wall, addressing key considerations and providing step-by-step instructions to ensure your valuables remain safe and secure.
The Importance of Anchoring a Safe to the Wall
Anchoring a home safe to the wall serves several purposes, both for security and safety.
Firstly, it deters would-be thieves from being able to tip the safe over, a common tactic that makes it easier to pry the door open.
Secondly, it prevents criminals from simply carting the safe away, allowing them to attempt to breach it at another location.
Finally, a properly anchored safe provides stability, ensuring it cannot tip over when you are accessing its contents. Some large safes are incredibly heavy and will pose a risk of causing damage to their surroundings, or worse - you - if they were to topple over.
Identifying the Ideal Wall Surface
Ideally, you'll want to target a solid, sturdy wall made of concrete or brick. These materials provide the necessary strength and stability for installing anchor bolts, ensuring your safe remains firmly in place and resistant to being pried away from the wall.
Sheetrock or drywall, on the other hand, are not suitable anchoring surfaces. The screws or bolts used to mount the safe would easily tear through these materials, rendering the installation ineffective for theft-resistance.
In these cases, you will need to locate the wall studs, using a stud finder, and ensure the holes in the back of the safe line up with these solid structural elements within the wall.
Preparing the Wall for Installation
Before you can begin the installation process, there are a few preparatory steps you'll need to take to ensure a successful and secure mounting.
Check for Anchor Holes
Many homes safes have pre-drilled holes in the back designed for wall anchoring. However, some manufacturers do not pre-drill holes in the back of their safes, making the process a bit more challenging. In such cases, it's highly recommended to have a professional installer handle the task, as they will have the necessary knowledge and tools to get the job done correctly.
However, be sure to first consult with the manufacturer, and also your insurer. Drilling holes in the back of your safe that aren't already there can void the warranty, insurance coverage, and in the case of fireproof safes, reduce their effectiveness to resist heat.
Removing Obstructions
If your safe will be positioned against a wall with skirting board or baseboard, it's necessary to remove the affected section. Use a pencil to mark the outline of the safe on the board, then carefully remove the skirting board in that area.
This will allow the safe to sit flush against the wall. It's vital to avoid any gap behind the safe, as that will make prying it away from the wall that much easier.
Clearing the Carpet
If your safe will be placed on top of carpeting, it's best if you can remove that section of the carpet to expose the underlying floor. Use a sharp knife or scissors to carefully cut out the area where the safe will be positioned, ensuring a seamless and secure installation that's flush with both the floor and wall.
Marking the Drill Locations
Once the wall and floor surface are clear and ready, position the safe in place and use a pencil to mark the precise locations of the pre-drilled holes on the back of your safe. This will ensure that the anchor bolts are drilled into the correct positions.
Drilling the Anchor Holes
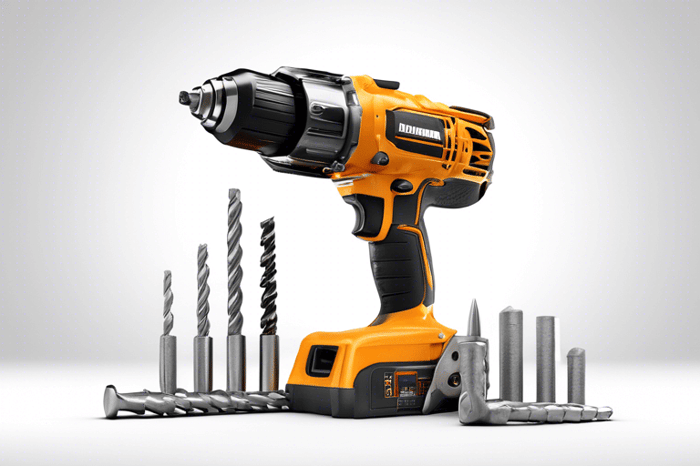
With the preparation complete, it's time to begin the drilling process. This step requires a strong, corded drill and the appropriate masonry drill bits to create the necessary holes for the anchor bolts.
Starting with a Pilot Hole
With the safe moved aside, begin by using a small masonry drill bit to create a pilot hole at each of the marked locations on the wall. This will serve as a guide for the larger drill bit, helping to ensure the anchor bolt holes are precisely positioned.
Drilling the Anchor Bolt Holes
Next, swap out the small drill bit for a larger masonry bit that matches the diameter of your anchor bolts. Carefully drill the holes to the exact depth required, using tape on the drill bit to indicate the appropriate stopping point.
Clearing the Debris
Use a vacuum cleaner or a can of compressed air to clear dust from the holes and clear the general surrounding area of debris.
Securing the Safe to the Wall
With the holes drilled, it's time to position the safe and secure it to the wall. This process requires a bit of maneuvering, but with the right tools and techniques, it can be accomplished efficiently.
Positioning the Safe
Carefully lift the safe and place it in the desired location, ensuring that the pre-drilled holes on the back align with the anchor bolt holes you've just created in the wall.
Inserting the Anchor Bolts
Insert the anchor bolts into the drilled holes and use a screwdriver or hammer to make sure they are securely tightened. This step is crucial, as the anchor bolts are the primary means of securing the safe to the wall.
Finalizing the Installation
Once the anchor bolts are in place, you can position any shelves or accessories within the safe as desired. Be sure to replace the covers on the holes if necessary. With the safe firmly anchored to the wall, your valuables are now protected and secure.
Seeking Professional Assistance
While a skilled DIY enthusiast may be able to handle the wall-mounting process, it's important to note that some manufacturers and insurers may require the safe to be installed by a professional.
This is particularly true for safes with higher security ratings, as they are often subject to more stringent installation requirements. Consulting with your insurer to help you determine the best course of action for your specific situation.
Be Prepared Ahead of Time
Bolting a safe to the wall is a crucial step in safeguarding your most valuable possessions where floor anchoring is not feasible or desirable. By following the instructions outlined in this guide, you can ensure your safe is properly anchored, deterring potential thieves and providing the stability necessary for safe operation.
If you have any further questions or concerns, don't hesitate to consult with a professional safe installer, the manufacturer of your specific safe model, or indeed your insurer, ahead of time. Their expertise can provide invaluable guidance to ensure your home security solution is installed to the highest standards.